
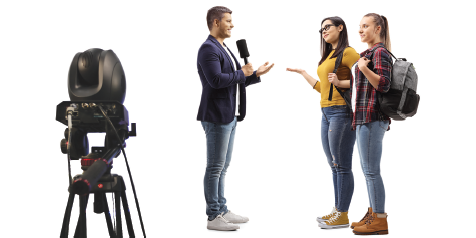
For a two-person interview, start by positioning each PTC-140 camera approximately six feet in front of the talent in the center. Use a tripod to mount each camera. Check to make sure that your tripod and camera are level.
Next, connect your PTC-140 cameras to the RMC-180 Mark II. The RMC-180 will provide you with significant flexibility to maneuver each camera and set predetermined shots, or looks, for each camera.
We recommend you first make all of the physical connections between the cameras, the RMC-180 Mark II, and the HS-3200 before you power on any of the devices. Make sure you have the multi-view monitor attached to the HS-3200 and that it is also powered on. Observe what your video looks like on your multi-view monitor. You will need to focus each camera as well as pull a medium shot of each person in the scene. You can adjust the individual pan, tilt, and zoom on each camera to center the talent in the shot. Ideally, you want to have each person fill the frame for the assigned camera. You can set your focus and iris adjustments to AUTO.
The RMC-180 Mark II is now your command control center for both video cameras. Using the RMC-180 Mark II, you can independently control the functionalities of both cameras. The RMC-180 Mark II control panel is intuitive and has individual buttons for camera operation. After you spend a few minutes learning how to operate the controls, it will be easy to use.

Let’s take a look at the controls on the RMC-180 Mark II. On the front panel, you will see a large joystick. This is used to control the pan, tilt, and zoom functions of each camera, as well as the focus and iris control. To switch between each camera, simply select one of the four channel buttons located on the front panel on the lower left side. The RMC-180 Mark II can control up to four PTC-140 cameras. By selecting the camera plugged into the corresponding channel, you can control your chosen camera.
For a quick tutorial, select channel A (Camera One). You will see its corresponding image on your multi-view monitor. Make sure that camera one is selected on the HS-3200. You can now experiment with the joystick on the RMC-180 Mark II. As you push the joystick forward, backward, and from side to side, you will see that the camera is easily repositioned. If you select channel B (camera two), you will see that you can now control camera two in the same manner.
The RMC-180 Mark II is a very robust device. Select channel A and adjust the camera for a medium shot – this would be an image where only the upper body is in the shot (from the shoulders up). Now, let’s learn how to “Pre-set” three different shots with the RMC-180 Mark II.