A PTZ camera can perform pan, tilt, and zoom functions with a robotic head operated by a remote control. The PTC-145 HD Video Camera is a PTZ camera and captures high quality digital video with features useful for your production, such as programmable presets, wide dynamic range with backlight compensation, and a motorized 20x optical zoom.
You can set up to eight programmable position presets including pan, tilt, and zoom positions per camera, using a Datavideo RMC-180 Mark II controller.
In addition, PTC-145 camera is designed to simplify production by offering built-in auto tracking that eliminates the need for a dedicated camera operator. Once set up, the camera intelligently follows the presenter, keeping them centered in the frame whether they move across the stage, approach the audience, or step back to a whiteboard.
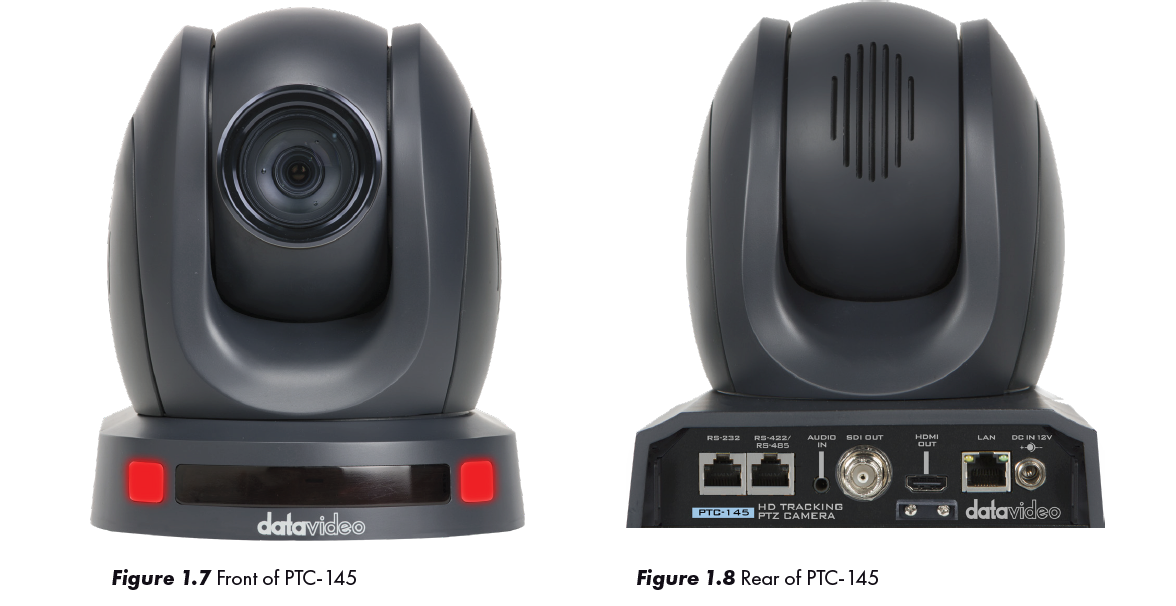
For multi-camera shoots, the built-in tally light can identify when the camera is active. Red indicates when the camera is live, or selected as the program out, and green indicates when the camera is in preview.
How to Connect the PTC-145 Video Camera
Plug in the supplied power pack to a wall outlet, the other end screws into the back of the PTC145 on the lower right side, “DC IN -12 volts.”
You can choose either the SDI or the HDMI cable format and connect one end to the PTC-145 camera and the other end to the video input on the HS-2600. For this class, let’s use SDI connections for the cameras so we can leave the HDMI inputs open on the HS-2600 for computers.
There is no on/off switch on the PTC-145. When you connect it to a powered outlet it will turn on.
Connect a Cat 6 cable to the RS-422 port on the back of the
PTC-145. The other end of the cable connects to the back of the RMC-180 Mark II. Channel A corresponds to Camera 1 and Channel B corresponds to Camera 2.