How to get the video that I want
1. Video is basically a general term for everything that you see when you open your eyes. However, this is definitely not what we want. A well-designed video should be something that is carefully designed and at the same time can naturally present the information that we are trying to convey.
2. In micro-course and UOOC, if the teacher or the lecturer appears in the video and is simply making the speech, the body shot should never cover more than one-third of the screen. If the speech includes powerpoint slides as part of the background, the body shot should never cover one-fourth of the screen and the lecturer should stand on the left or the right at approximately two-fifth of the screen from the edge. In this way, the image will look more natural and the lecture content will also be easier to understand. When the content involves explaining concepts, the lecturer should stand at the center of the screen so that the students can visually focus on the teacher and better receive the information conveyed by the teacher.
3. However, if the lecture content is purely powerpoint slides, the slides should never be bigger than 60% of the screenand positioned at the center of the screen. The borders are blank regions so that the viewer will not feel visually scattered. One should never put too much information on one slide. If the information is in point form, you should limit them to three to five points so that it will not become an information intensive and brain bombarding visual effect.
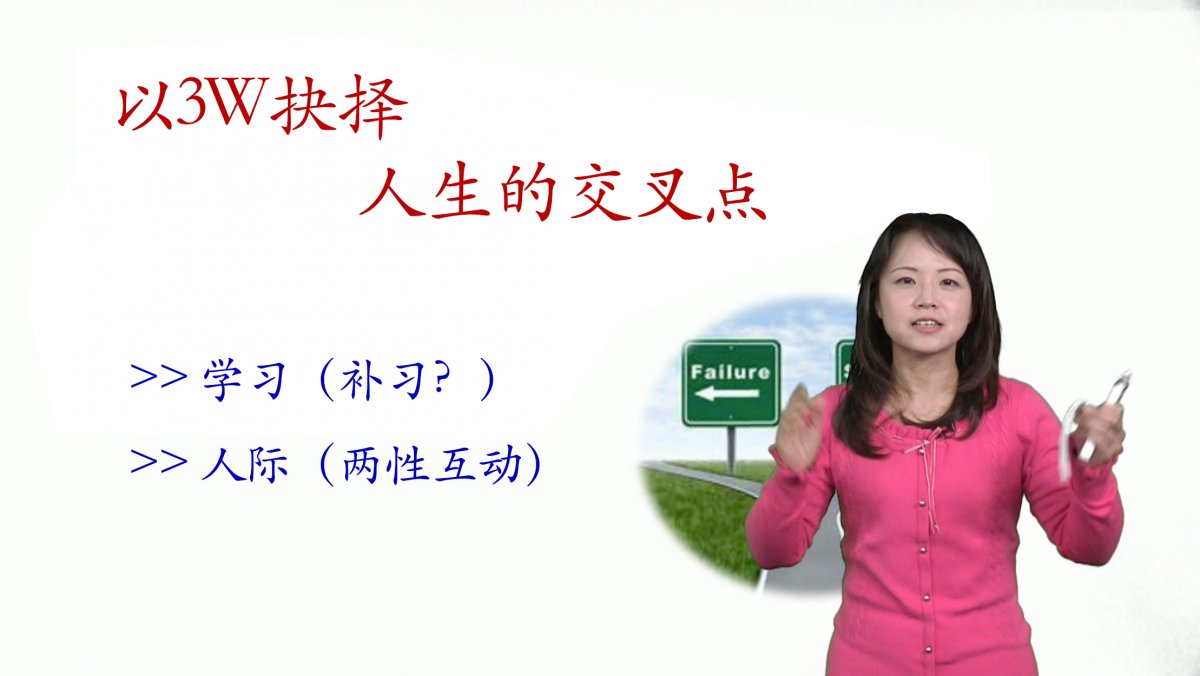
The ratio of the teacher and the slide on the screen is approximately 1/3 or 1/4.
Camera Choices
1. If you do not have a budget issue, of course you should choose the broadcast quality professional camera. SONY F55 is a better choice as it gives you a better quality image by keeping the details. In this way, the image presentation can be more lively and flexible. However, adoption of high end cameras also means other parts of the studio production such as the lights, makeup, background materials and etc should be upgraded. If the budget is limited, we recommend using a lower grade camera but enhancing other parts of the studio.
2. In any general high schools, a semi-professional camera is used because they want to achieve a balance between easiness, effectiveness and cost. Examples of the semi-professional camera are SONY PXW-X200, Panasonic AJ-PX270, JVC GY-HM650SC and etc. These are relatively good semi-professional models. You can also consider other camera models of the same grade. Usually the I/O ports of this type of camera are also very well designed for connection of other equipment. Hence semi-professional cameras can be used for shooting all kinds of UOOC and micro-course video production and the video can be used as the demo video for the whole country. The semi-professional camera is an ideal choice in any high schools as the video shot by these cameras does not add extra loads to post-editing.
3. Entry level cameras are cheap but do not yield high quality pictures. High-end cameras of major manufacturers are good choices because all you need is to be able to adjust details of the environment in order to capture a clear image. Of course, you might experience a considerable amount of loss in image details but this is not a serious problem as long as your video content is properly designed, it should not affect information conveyance in an adverse way.
What is White Balance and how to Calibrate White Balance
1. Everyone has different sensitivity and perception in colors and eyes have higher tolerance to lights in shooting environment compared to cameras. Hence we have to precisely allow the camera to perceive our perception of white color. In this way, the camera will be able to detect all levels from black to white and more accurately save each color. Ultimately, the authenticity and nature of the color will be enhanced to obtain a comfortable color level.
2. Generally, in any shooting environment, a piece of the white paper will be placed in front of the camera which will be zoomed in on the white paper to capture a full white screen. After that, you will be able to start calibrating the white balance of the camera. The white color in this environment will be saved in this camera as a color reference. You can also attempt to point your camera lens to another big color area to perform calibration of colors such as red or blue. You will then find how white balance can greatly change the image quality, which can be better shown on the vectorscope as it illustrates the full sensitivity range of a camera.
3. For high-end cameras, color matching cabinet and color cards will be required at the camera shooting scene for advanced and professional calibration of white balance. A standard color matching cabinet is set to a color temperature of 5600K. After that, the calibrated white and gray cards will be placed in the cabinet for calibration of the camera’s white balance. At this point, any slight bias in the environment will be saved by the camera. During shooting, you will then find that color reproduction in any captured image will be close to the color perceived by naked eyes. This kind of calibration method is usually done in a highly professional environment. For general applications, white color paper alone is adequate for camera calibration.
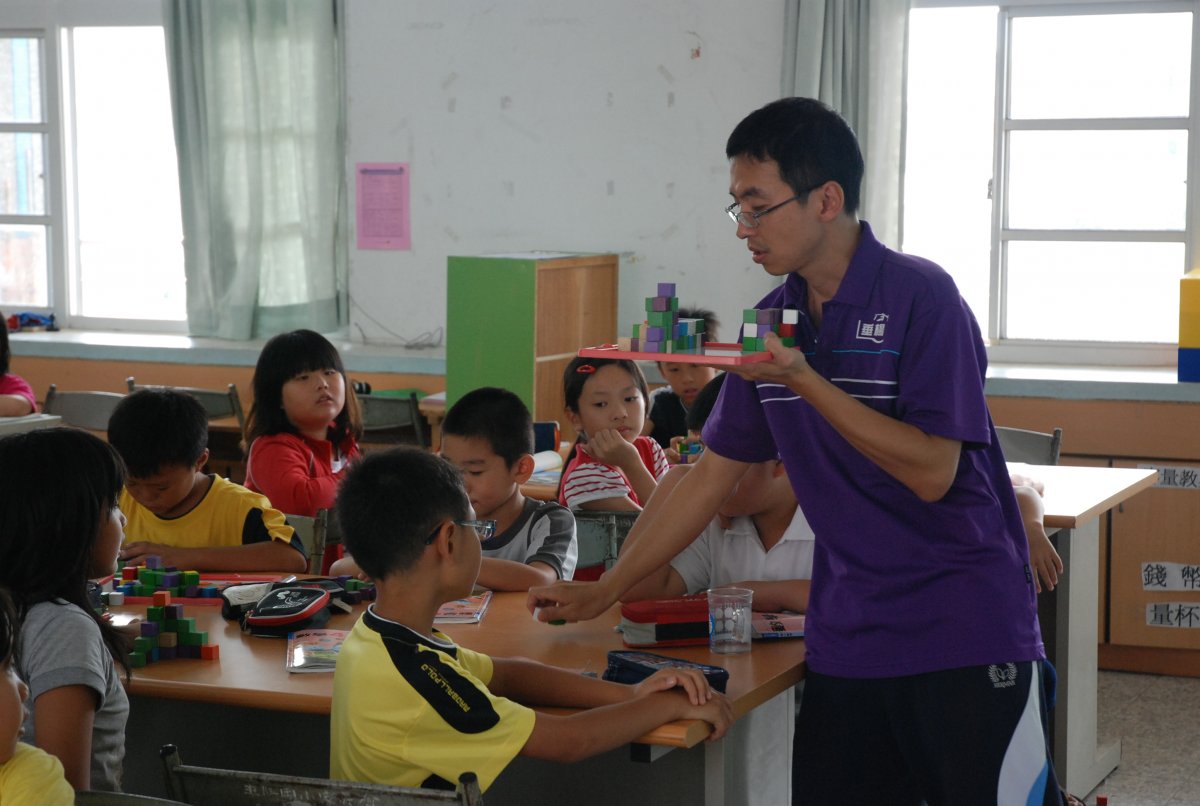
Image under correct white balance.
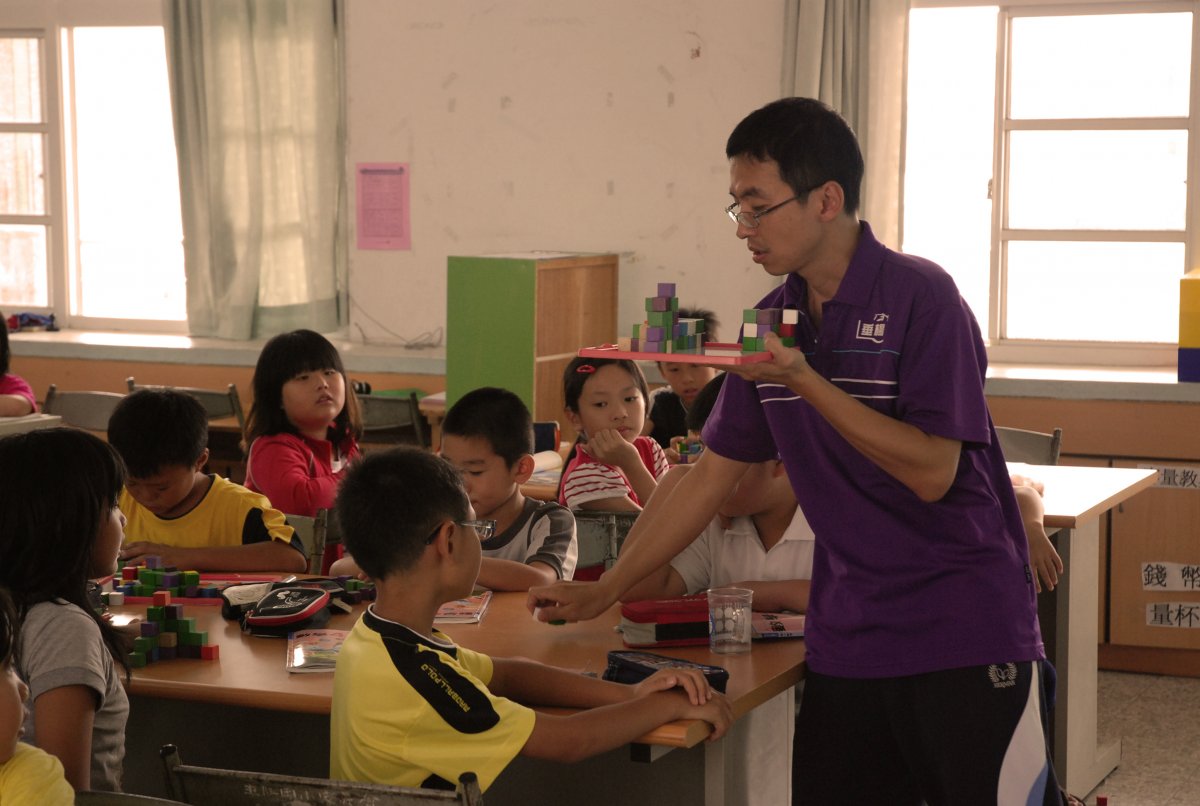
White balance error (color temperature is relatively low)
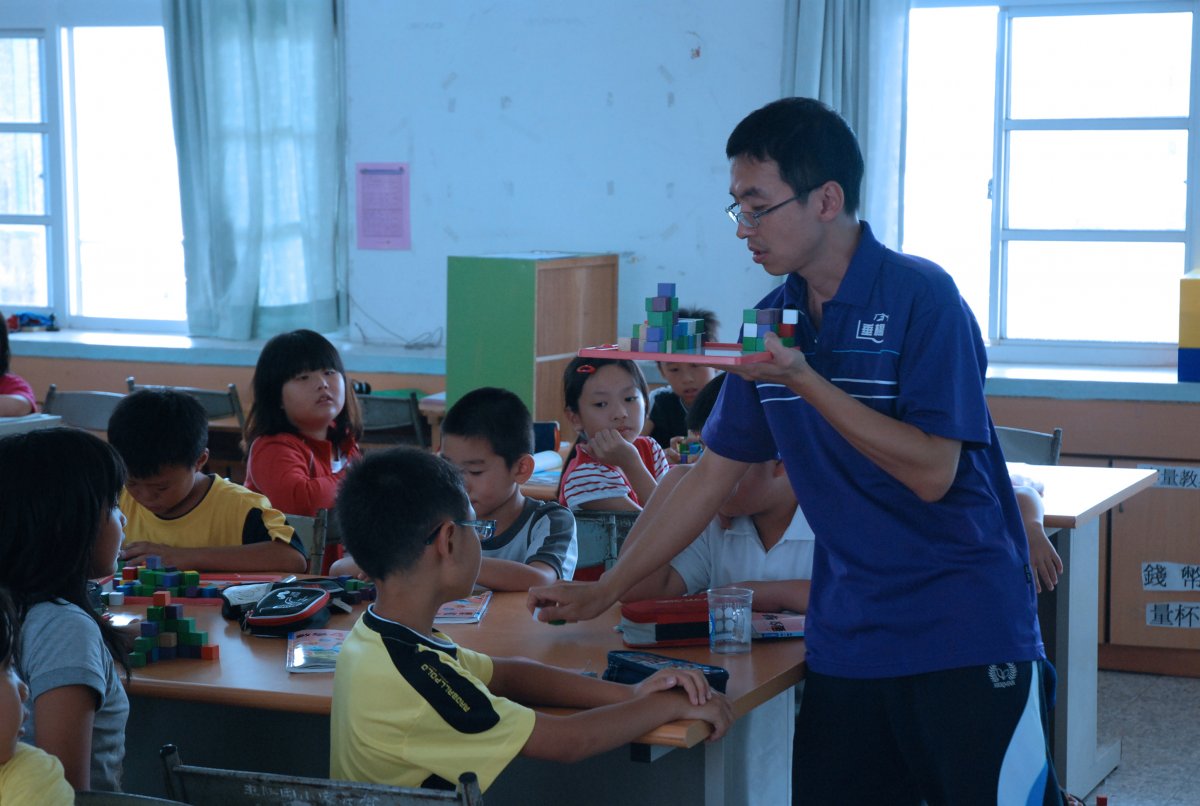
White balance error (color temperature is relatively high)
Effects of Iris and Focus on Video
1. Iris involves in-depth discussion of camera. This topic is as complicated as the human iris, however, if you could understand the main points, camera iris will not be difficult to control. Please bear in mind that as the iris value gets bigger, such as F11 and F16, this means the iris opening is becoming smaller and the amount of light entering the iris will be lower. If the lights are sufficient in your environment, you will yield clearer images and thus the skin defects will also be captured. In the indoor environment, it is recommended to limit the iris value to around F5.6, which will yield a comfortable and natural background color depth. With the adjustment of lights or studio setup, you will thus be able to capture high quality images. However, if the lights are insufficient, you will have to increase the iris opening accordingly. The recommended iris value should not fall below F3.2. If the iris opening is too big, you can easily record a video with big pixels, which might give you a false perception that this video is poorly designed.
2. Relatively, focus is much easier to understand and all you need is to know a few simple principles. First of all, you must set the camera focus to manual mode and then zoom in a close up shot to focus the lens on the eye of the speaker. This is because most speakers in the video tutorial moves laterally and to the camera, the focus is always the same; thus, theoretically whether the speaker moves to the right or the left, you should still get a clear video after the camera focus is fixed.
3. Of course there are also a few other techniques that will make your speaker much more eye pleasing. The main principle of photography is actually capturing natural skin and eyes. The first technique is the iris adjustment. After adjusting to a balanced iris value, you can enlarge the iris by lowering the value to the next level, for example from F5.6 to F4. This will induce light scattering effect along the edges so the skin looks soft to your eyes. The second technique is about placing the focus 5-10 centimeters in front of the eyes of the speaker, which will also make the skin condition better. The last technique is to lower the camera sharpness to achieve the similar skin effect. However please remember that you should always avoid listless eyes when using these techniques and when it occurs, you should stop to avoid adverse effects.

Use techniques to soften the skin.