Preparation
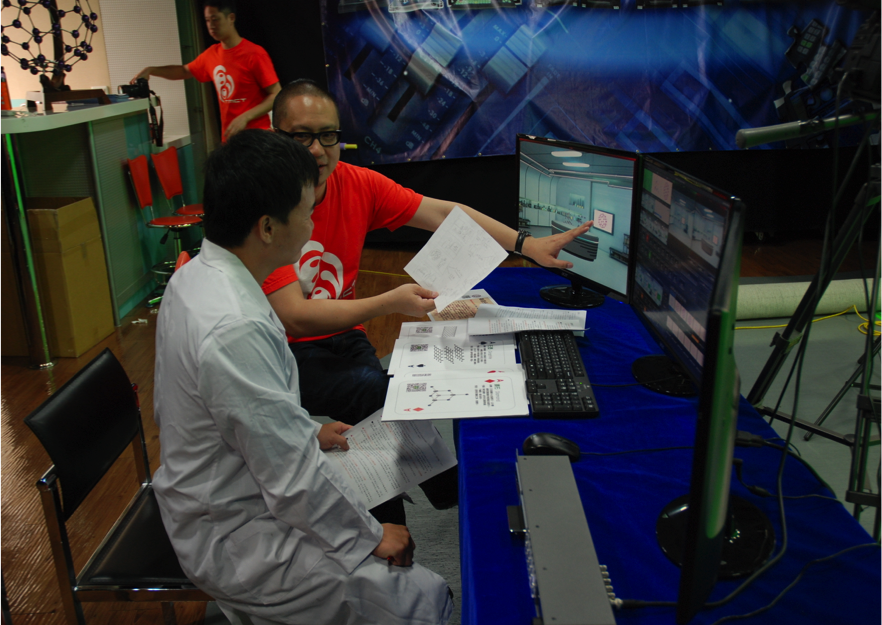
- Preparations before shooting: a teacher, one to two video production crews, and the course materials can be presented in the form of PPT, images, video and 3D animation. The video production crew should discuss every part of the video with the teacher prior to shooting. Rehearsal of how the course materials are presented on the background, the form of presentation and timing is carried out. Only after many discussion meetings will the shooting will be ready for recording.
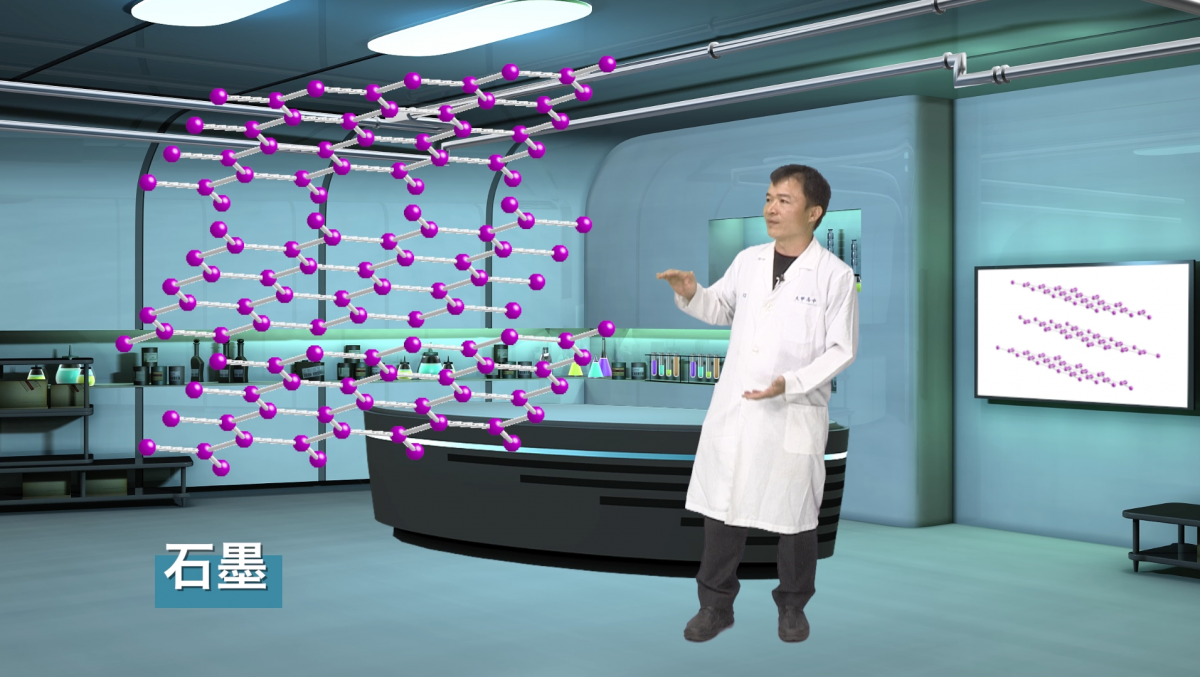
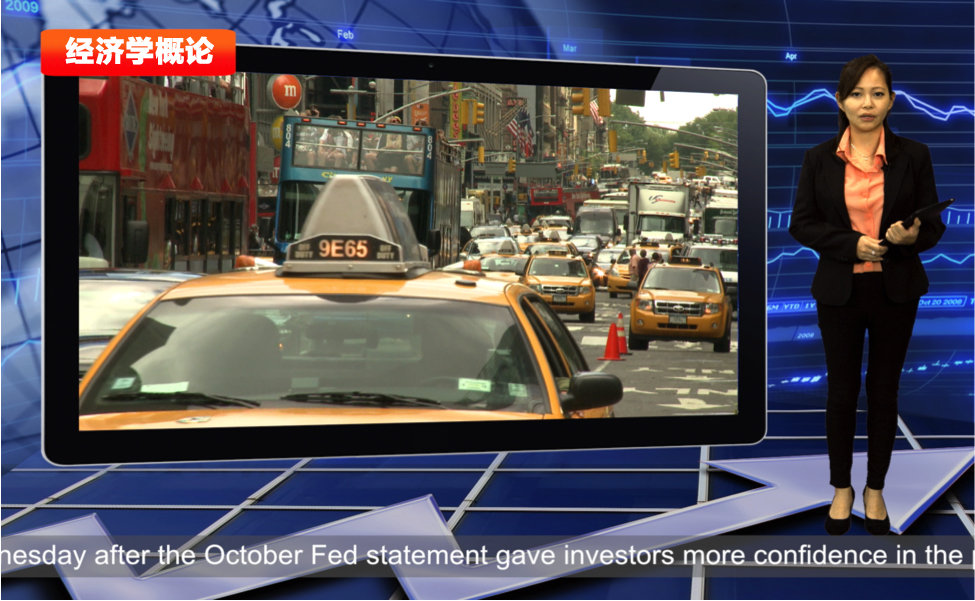
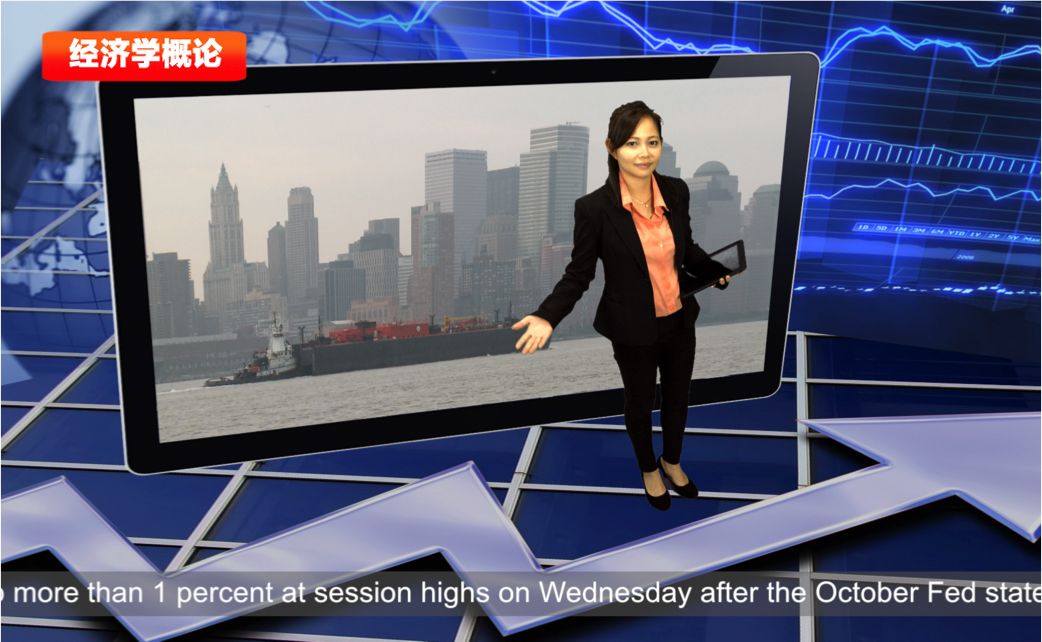
- Precautions: To teach in the “Virtual Classroom”, the teacher must be imaginative and have the ability to sense. The teacher must familiarize himself with different positions in the virtual environment and the stage size with the goal to make the audience feel like being in the real environment. If the virtual background design contains a video on one side of the teacher or behind the teacher, the teacher will then be able to make clear indications of main points and interact with various 3D animation objects. In this way, the class atmosphere will become livelier and attract attentions from students.
- Virtualsets Design: After the course materials are ready, one can start the design of virtualsets. The website datavideovirtualset.com constructed by Datavideo provides countless virtualsets for the teacher to choose. If there is no preferred virtualset on the website, the teachers can create their own virtualset using the built-in Virtualset Maker in the virtual studio system. Regardless of hand drawn pictures or photographs taken by cell phones, they all can be used for creating virtualsets using the Virtualset Maker.
Communicate well before shooting.
The teacher needs to be imaginative and knowledgeable
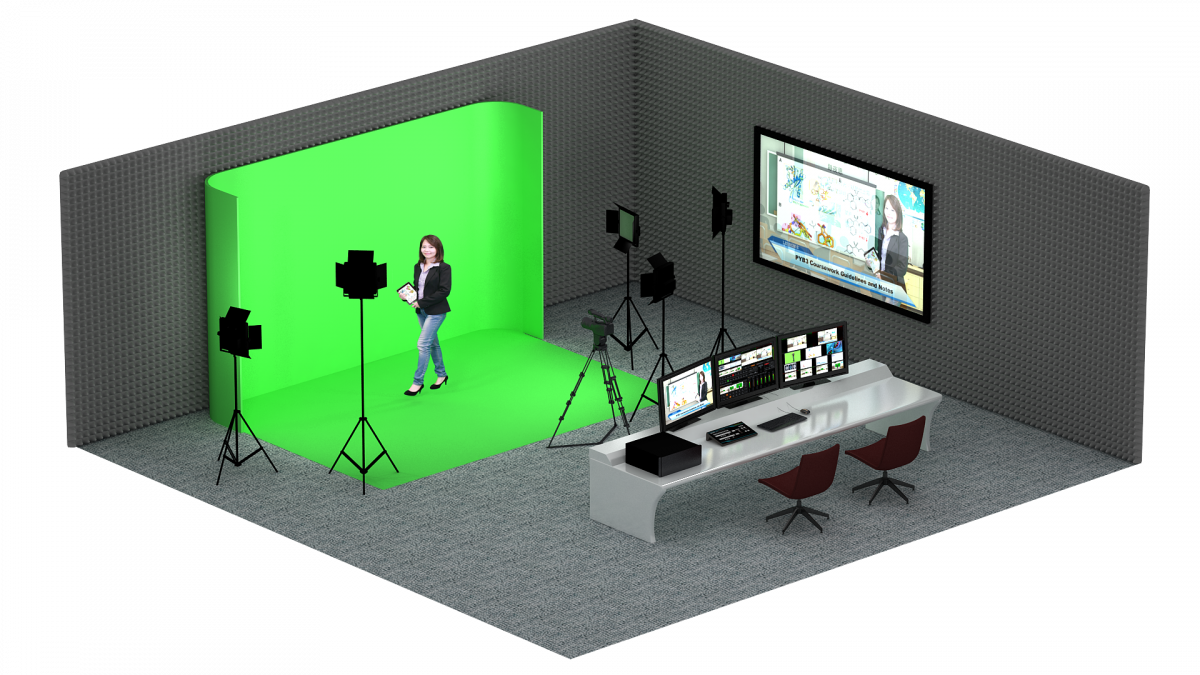
Scene Setup
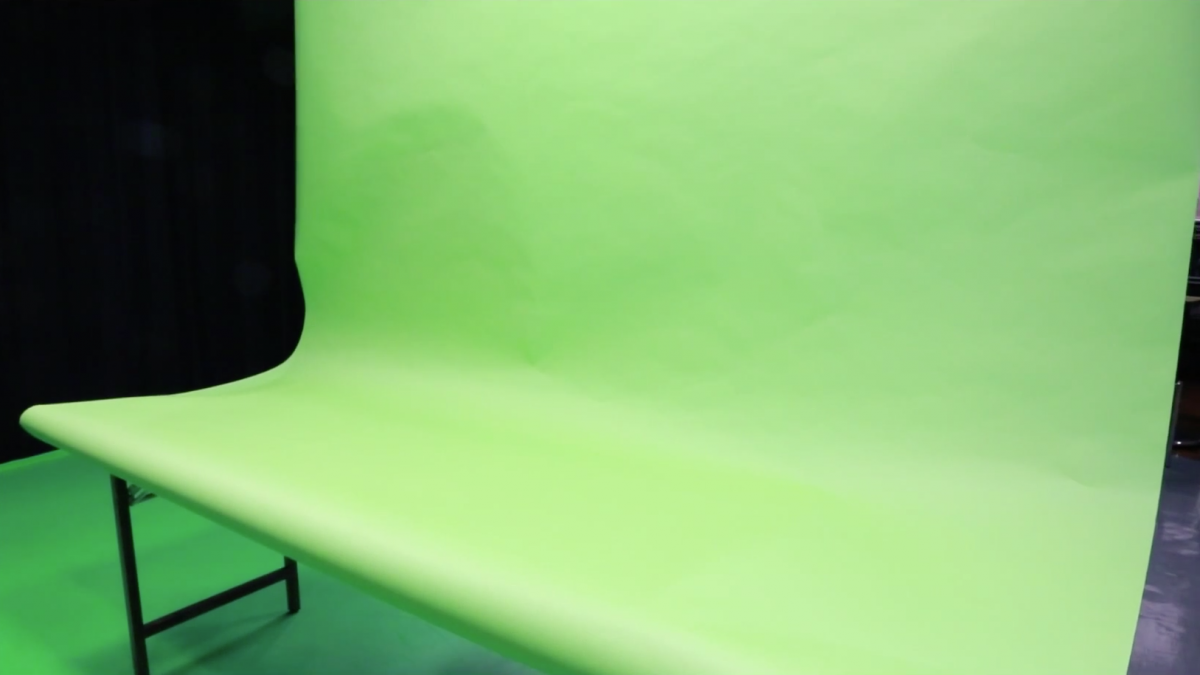
A green or blue backdrop is an indispensable component in the “Virtual Classroom” and selection of the backdrop material is thus very critical. One should use a material that is non-reflective and wrinkle-free. The chromakey technique is matured enough to achieve a good chromakey effect with a bright green or blue color and professional lighting. As for selection of a background color for the “Virtual Classroom”, we recommend green color because it adopts cold white light which can easily highlight the object in front of the backdrop. Also, most people wear blue color outfits, so blue backdrop is less used. As for the issue of white skin color, it can be corrected using the lights or color adjustment. Amount of light required is proportional to the size of the studio. The background light must be uniform and sufficient at the minimum but not excessive to avoid light spill on the main object.
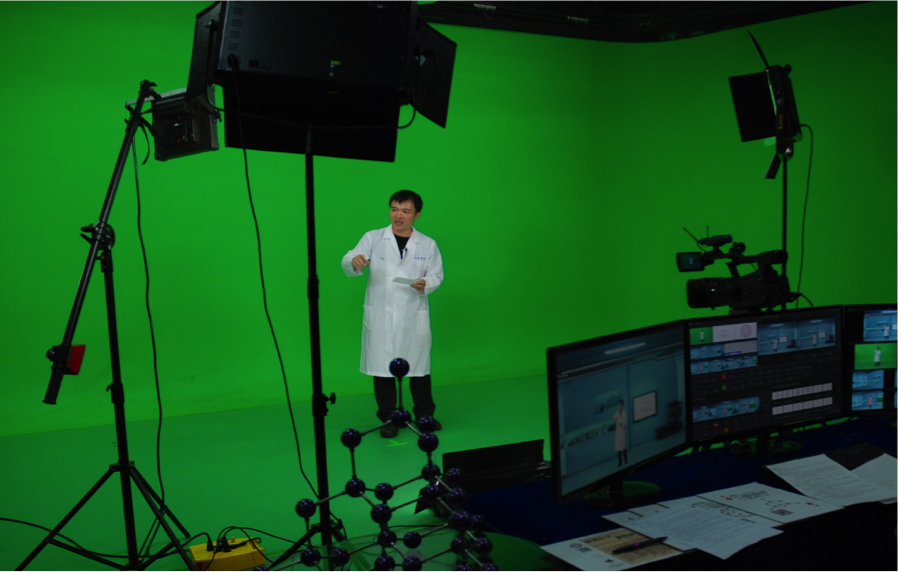
A green backdrop and the lights are keys to a well-designed “Virtual Classroom”.
Video Production
If shooting is done using only one camera, you can simulate the camera movement using the system’s built-in functions. Hence the camera should aim at full body or half body so as to successfully present the content of the course designed. In order to integrate the transparency of the 3D virtual background, the camera height should be aligned with the chest of the camera crew. In this way, the image captured will be real and natural. If two cameras are used, camera 1 can be positioned to take either the full body or half body and camera 2 can be mounted on a swing arm which hangs down from the ceiling simulating aerial shot. The aerial camera adds more lively and flexible components to the image.

Shoot at an elevated angle to make your video more flexible and lively.
DSK Animation
“Virtual Classroom” is equipped with many downstream key functions. This function can be used to access virtual objects or animations at an appropriate time to integrate them into the teaching. In this way, the video tutorial will become livelier. In this sub-section, we will guide you through DSK animation design process.
- First of all, look for a green backdrop from chromakeying.
- Find an electric rotating disc.
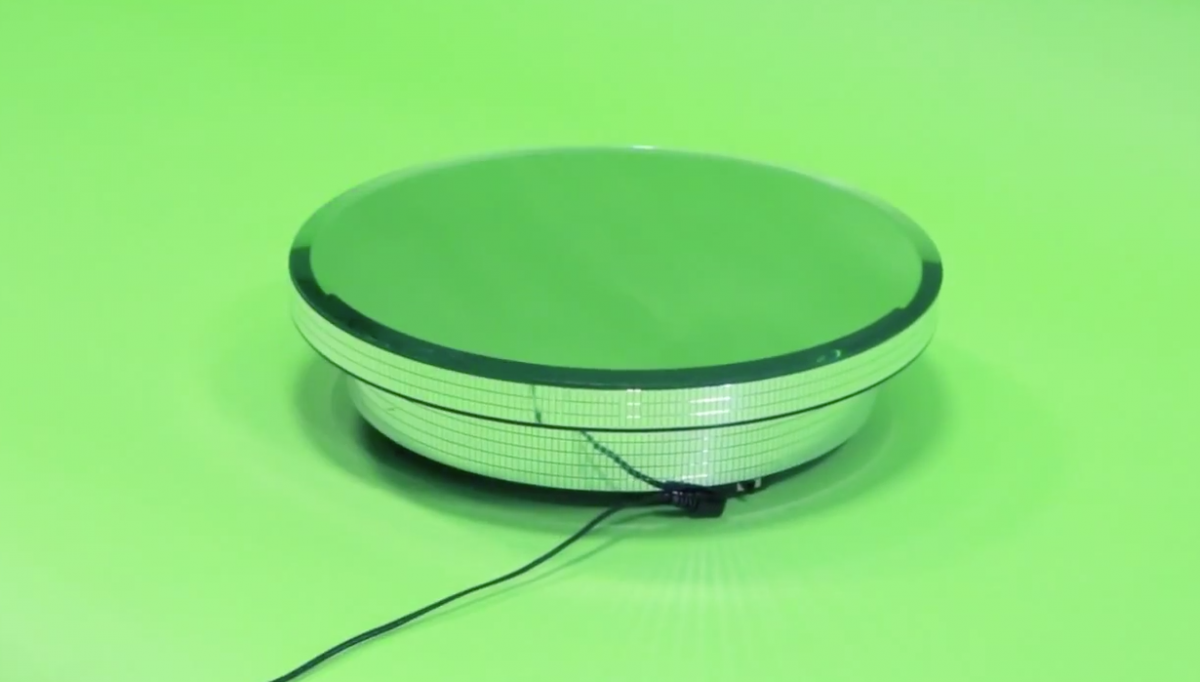
- Place a piece of backdrop paper on the rotating disc.
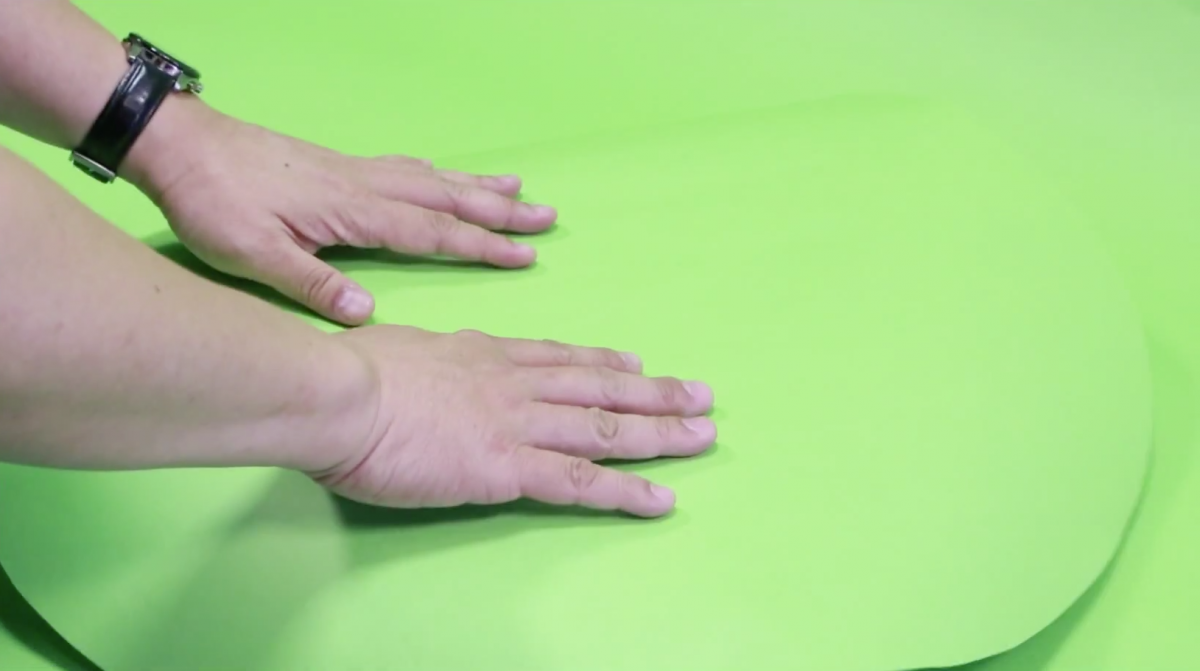
- Place an object on the center of the disc.
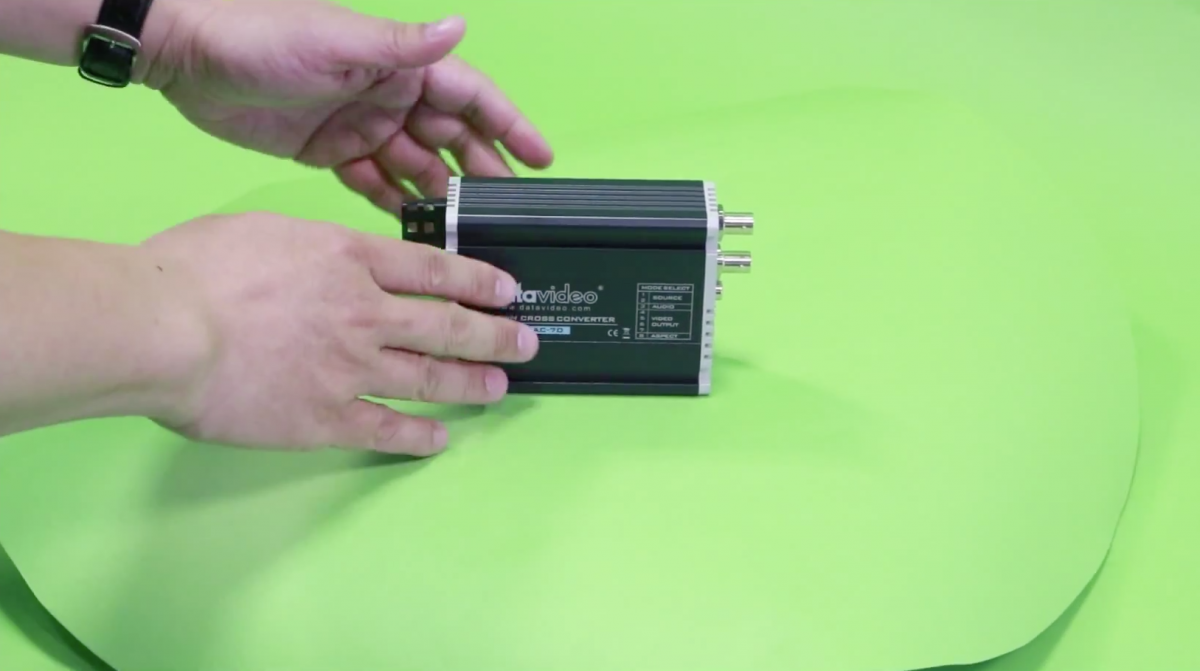
- Mount cell phone or camera on tripods.

- Power ON the electric rotating disc.
- Start recording after the image to be shot is confirmed.
- Transfer the recorded video to the PC.

- Open nonlinear editor and drag the video file onto the time axis.
- Apply the chromakey effect.
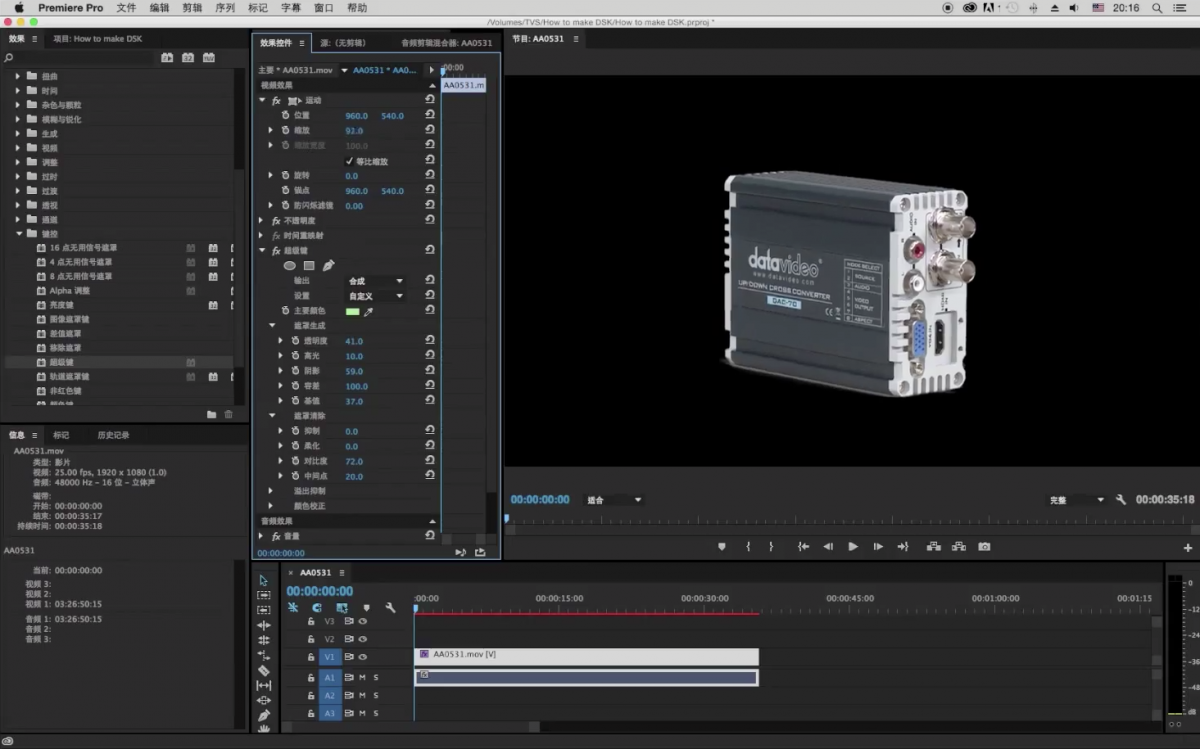
- Next pre-adjust the object size and position.
- Export after everything is ready.
- Export configuration file.
- Format: QuickTime
- Video Encoder: Avid DNxHD Codec
- Width: 32bit
- Encoder Configuration
- Color Levels: 709
- Alpha: Compressed
- Resolutions: 1080/25 36 8-bit
- Important tips
Please visit the Avid website to download the CODEC  (http://avid.force.com/pkb/articles/en_US/download/en423319) and install the CODEC after download is complete.
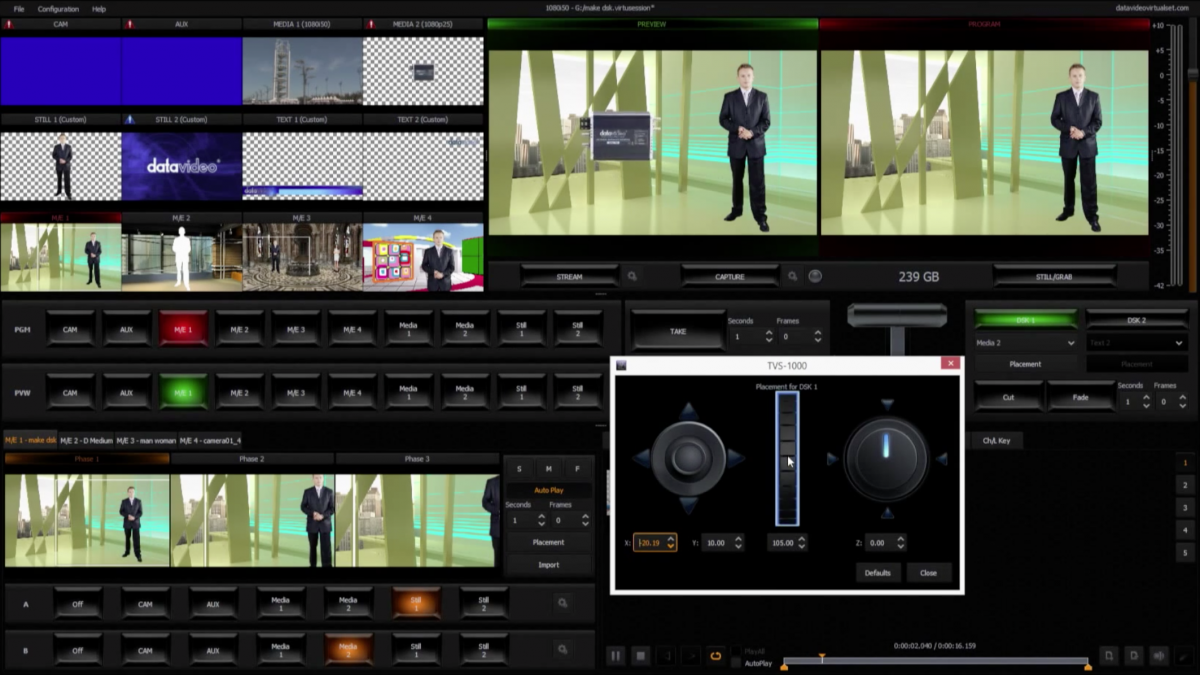
- Next, power ON the "Virtual Studio" equipment to start importing the chromakeyed media materials.
- On the "Virtual Studio" equipment, the chromakeyed object can be re-positioned and resized.
- Select CUT or FADE accordingly after configuration.
- Present the effect on the Program screen.